
本日はここに逆引きVueを書きたいと思います。質問などあれば、コメント書いてください。
新しいページを追加する
まずは、ページを追加します。他のページを丸々コピーしてファイル名を変更しましょう。今回の場合mainpage.vueという名前にしました。よくわからない場合は、このページにサンプルで載せてあるmainpage.vue のコードをコピペしましょう。
index.jsを開いて以下のコードを追加する。
import Vue from 'vue'
import Router from 'vue-router'
import HelloWorld from '@/components/HelloWorld'
import Sample1 from '@/components/sample1'
import Sample2 from '@/components/sample2'
//ここに追加したページのファイル名を記載します。mainpageですね
import Mainpage from '@/components/mainpage'
import Signup from '@/components/Signup'
import Signin from '@/components/Signin'
import firebase from 'firebase'

Vue.use(Router)

let router= new Router({
  routes: [
    {
      path: '/',
      name: 'HelloWorld',
      component: HelloWorld
    },
    {
      path: '/sample1',
      name: 'Sample1',
      component: Sample1
    },
    {
      path: '/sample2',
      name: 'Sample2',
      component: Sample2
    },
    {
      path: '/signup',
      name: 'Signup',
      component: Signup
    },
    {
      path: '/signin',
      name: 'Signin',
      component: Signin
    },
//新たに追加するページ名を記載
    {
      path: '/mainpage',
      name: 'Mainpage',
      component: Mainpage
    }
  ]
})

router.beforeEach((to, from, next) => {
  let requiresAuth = to.matched.some(record => record.meta.requiresAuth)
  let currentUser = firebase.auth().currentUser
  if (requiresAuth) {
    // このルートはログインされているかどうか認証が必要です。
    // もしされていないならば、ログインページにリダイレクトします。
    if (!currentUser) {
      next({
        path: '/sample1',
        query: { redirect: to.fullPath }
      })
    } else {
      next()
    }
  } else {
    next() // next() を常に呼び出すようにしてください!
  }
})

export default router
続いて、mainpage.vueを開き、nameの箇所をMainpageという名前にします。(先ほどindex.jsで記載した名前と一致するように書きましょう)
<template>
    <div>
        <button v-on:click="addText(textMsg)">ADD TEXT</button>
        <p><input type="text" v-model="textMsg"></p>
        <div v-for="item in items" :key="item.id" >
        <p>{{item.title}}</p>
        </div>
    </div>
</template>

<script>

export default {
//ここの名前をindex.jsで設定した名前と同じにする
  name: 'Mainpage',
  data () {
    return {
      msg: 'How are you?',
      items:['title'],
    }
  },
  methods:{
      addText:function(textMsg){
          this.items.push({title:textMsg})
      },
  }
}
</script>

<!-- Add "scoped" attribute to limit CSS to this component only -->
<style scoped>
h1, h2 {
  font-weight: normal;
}
</style>

http://localhost:8080/#/mainpage で確認してみると、上のように表示されているのがわかります。
Firebaseからデーターを読み込む
Firebaseからデーターを読み込むのはちょっとめんどくさいですよ。
<template>
    <div>
        <button v-on:click="Loading()">Load</button>
    </div>
</template>

< script >
  //この一文を追加する
  import firebase from 'firebase'
export default {
  name: 'Mainpage',
  data() {
    return {
      msg: 'How are you?',
    }
  },
  methods: {
    //Firebaseからデーターを読み込む
    Loading: function () {
      var pageNum = '';
      // messageというコレクションのtestというドキュメントを参照する
      const colref = firebase.firestore().collection("message").doc("test");
      //データの読み込み
      var allCities = colref.get().then(doc => {
        if (!doc.exists) {
          console.log('No such document!');
        } else {
          console.log('Document data:', doc.data());
          var names = new Array();
          for (var j in names) {}
        }
      }).catch(err => {
        console.log('Error getting document', err);
      });
    },
  }
}
< /script>

<!-- Add "scoped" attribute to limit CSS to this component only -->
<style scoped>
h1, h2 {
  font-weight: normal;
}
</style>
データーを追加する
データーベースにデーターを追加するには以下のソースを使うと便利です。
       Posttopic: function (){

        const colref = firebase.firestore().collection("message").doc("test"); // "formcontent"という名前のコレクションへの参照を作成
        var arrayForData = {};
        var Database = [];
        var i = 0;
        var index=0;
        var typeNum=0;

        for (var j=0;j<10;j++) {
          console.log(j);
          Database.push({
              block: j,
              name: 'this.fields[j].nextPage',
          });
        }
        for (var k in Database) {
            arrayForData[i] = Database[k]
            i++;
            console.log(Database[k]);
        }
        // addの引数に保存したいデータを渡す
        colref.set(arrayForData).then(function (docRef) {
            // 正常にデータ保存できた時の処理
            console.log("Document written with ID: ", docRef.id);
        }).catch(function (error) {
            // エラー発生時の処理
            console.error("Error adding document: ", error);
        });
       }
新たなドキュメントにデーターを追加する
新たなドキュメントにデーターを追加するときはaddという関数を使います。下にサンプルを載せておきます。
       AddTopic: function (){

        const colref = firebase.firestore().collection("message"); // "formcontent"という名前のコレクションへの参照を作成
        var arrayForData = {};
        var Database = [];
        var i = 0;
        var index=0;
        var typeNum=0;

        for (var j=0;j<10;j++) {
          console.log(j);
          Database.push({
              block: j,
              name: 'this.fields[j].nextPage',
          });
        }
        for (var k in Database) {
            arrayForData[i] = Database[k]
            i++;
            console.log(Database[k]);
        }
        // addの引数に保存したいデータを渡す
        colref.add(arrayForData).then(function (docRef) {
            // 正常にデータ保存できた時の処理
            console.log("Document written with ID: ", docRef.id);
        }).catch(function (error) {
            // エラー発生時の処理
            console.error("Error adding document: ", error);
        });
       },
新規でプロジェクトを作成する
Vueで新規にプロジェクトを作成する方法について解説します。まずはターミナルを開いて、以下のコマンドを打ち込みましょう。
$ vue init webpack my-project
なお、黄色のアンダーラインはプロジェクト名を指します。好きなプロジェクト名を書きましょう。ここでは「my-project」という名前にしました。このあと色々聞かれるので、大抵は何も入力せずNoを選択すればOKです。
続いてプロジェクト内に移動しましょう
$ cd my-project
これで、完了です
Firebaseをインストールする
新規でプロジェクトを作成したら、作成したプロジェクトまで移動してFirebaseをインストールします。仮にmy-project というプロジェクトを作成したらまず移動します。
$ cd my-project
続いて、移動先でFirebaseをインストールします。
$ npm install firebase --save
これでFirebaseのインストールは完了です
Vueをローカル環境で動かす
Vueをローカル環境で動かすには、プロジェクト配下に移動後、以下のコマンドを入力してください
$ npm run dev
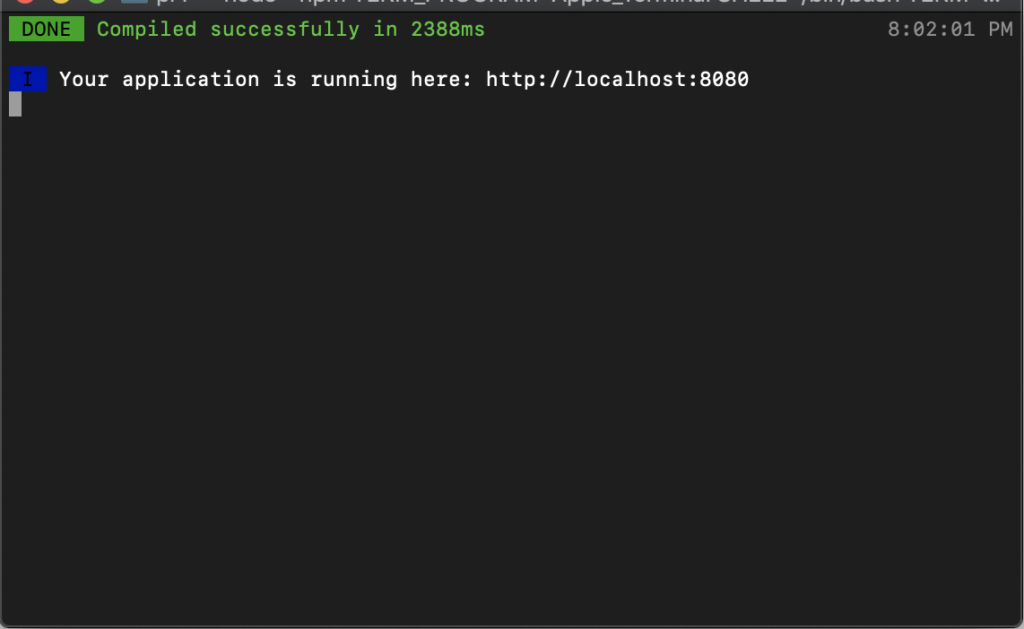
このように表示されたら”http://localhost:8080”にアクセスしてください。画面が表示されるはずです。
最初の1回だけ行いたい処理を書く
最初の一回だけ行いたい処理は、この関数内に記載します。
created(){
  //ここに処理を書いてください
},
別のページに移動する
Vueで別のリンクに飛ぶ時の記載方法は
this.$router.push('/遷移先のファイル名')と書きます